Showing posts with label Food. Show all posts

Saturday, 20 February 2016

Chocolate Eclairs

Hi Guys!!

Today I've decided to make some 'chocolate eclairs.

I'm not talking about the chewy caramel coated chocolate from cadbury (even though thats also quite nice) ....but no, I'm referring to an oblong pastry filled with cooled custard or cream, and topped with a drizzle of shiny melted chocolate. With the first bite, you get the crunchy pastry shell, and then you're hit by the creaminess and coolness of the cream, followed by the bitter sweet taste of the dark chocolate. 

This delightful dessert is just an explosion of flavour. You would certainly want to make this for that special some one. Its certainly a welcomed addition to any party, as a dessert on a romantic date #wink, or as an exciting way to get your kids into the kitchen.
I made these as a gift for a friends birthday party and it was gone in a flash...which pretty much demonstrates the name 'eclair' french for 'flash of lightning'.


It certainly requires a good number of ingredients, however, thats because I made my own custard from scratch. You can always decide to substitute with the ready made custard or instant custard, however, it has to be made thick and sweet and definitely not runny.


So here's how you make it:

Ingredients
For the choux pastry shells
  • 100mls of milk + 100mls of water
  • 5.5 tbsp of butter
  • 1.5 cups of flour
  • 3 eggs
  • 1 tbsp of sugar
  • A pinch of salt
  • 2 tbsp of powdered sugar
For the custard
  • 3 egg yolks
  • 1/2 cup of sugar
  • 1 tbsp cornstarch
  • 1.5 cups of milk
  • 1 tsp of butter
  • 1 tbsp vanilla extract
For the chocolate ganache
  • 160grams of dark chocolate (at least 50% cocoa solids)
  • 2 tbsp of butter
  • 1 tbsp of sugar
  • 80mls of cream
Other materials required:
  • 3 Pots
  • 2 large bowls
  • A baking tray
  • A balloon whisk
  • 2 Piping bags (1 large nozzle, 1 pin nozzle)
  • A ladle
  • Parchment paper
  • A roll of cling film
  • A tooth pick
Instructions
  1. First we make the custard. Put the milk in a pot on low heat and bring to a simmer. In a bowl, add the yolks, corn flour, sugar  and vanilla extract together, and mix until it turns pale. 
    Corn starch added into the egg and sugar mixture

    Pale colour after incorporating the yolk, sugar, vanilla and corn starch
    Pot of milk brought to a simmer
  2. Once the milk has come up to a boil, ladle a spoon of it into the egg mixture, whisking continuously. Then add the entire bowl of egg mixture into the pot of milk, and bring back onto the low heat, whisking continuously until it becomes thick. Add the butter and mix well. Transfer into a bowl, cover with cling film and refrigerate.
  3. Now to make the choux pastry. Preheat the oven to 200 degrees celsius. Add the milk, water, salt, sugar  and butter into the pot, and bring to a boil.
    Melted butter in the milk
  4.  Once it begins to boil, and the butter has dissolved, remove from the heat, and add the flour. Mix very well, until a dough is formed.
    Flour incorporated into the boiling milk

    Cooked flour dough
  5. Transfer into a plastic bowl, and allow to cool for about 5 minutes. 
  6. Add the eggs one at a time, incorporating each time. Then transfer into a piping bag with a large nozzle.
    Incorporating the eggs into the dough

    The dough put in a piping bag
  7. Pipe the dough into oblong shapes on a baking tray lined with parchment paper. Then sprinkle the icing sugar over the dough shapes, and place in the oven. for about 20 mins or until its browned and puffy.
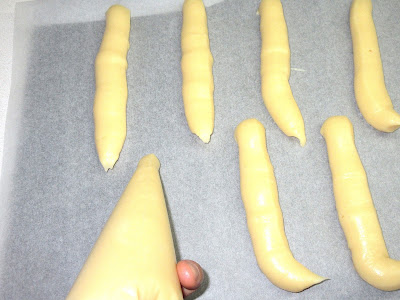
    Piping the choux pastry

    Piped choux pastry
  8. Now to the chocolate ganache. Place the cream in a pot and bring to a simmer. 
    Simmering cream
  9. Chop the chocolate into shreds and place in a bowl. Then add the sugar and butter. 
    A chocolate bar

    Chopped chocolate

    The chocolate and butter
  10. Pour the cream over the chocolate and butter, and mix well, until its beautiful and shiny, then set aside.
    The chocolate ganache
  11. Remove the pastry from the oven, and using a toothpick, poke a hole at the side to allow the steam out faster. Remove the custard from the fridge and transfer into a piping bag with the pin nozzle. 
    Pastry out of the oven, and custard in the piping bag
  12. Use the toothpick and poke three holes along the base of the pastry, and put the custard into all three hole. Do this for all of them.
    Poking holes into the pastry for the nozzle to fit

    Piping the custard into the pastry shells
  13. Now dunk the front end of the pastry into the chocolate ganache, and set aside.
    Dunking the custard filled eclair into the chocolate ganache

    A perfect eclair
  14. Once you've done that for all the pastry's, allow to cool, and then Enjoy.


Tips
  1. Ensure you continuously whisk the egg and milk mixture or else the eggs would scramble in the heat, and that would make for a lumpy custard.
  2. When you add the eggs into the dough, it would split, but just continue to mix well, and it would become sticky again.
  3. Alternatively, you can microwave the chocolate, butter and milk for about 20 seconds, or until they are melted. But do not allow the chocolate to burn.


Sunday, 31 January 2016

Chicken Light Soup (Ghanaian)

Hi Guys!

So, the other day I was talking to a good friend of mine in Ghana. Apparently, I had just interrupted his lunch. He was chowing down on some fufu and light soup (goat meat), and had to pretty much dismiss me, cos he was like he just couldn't talk at that moment. After I hung up, I actually had a good laugh cos I could remember doing the same thing to him when I was in Ghana. Hopefully he doesn't decide to get me back for outing him like this....lol.
Fufu and light soup (chicken or goat meat), is certainly my favourite Gh food. It was actually also the first Gh meal I ever had. Its so delicious and hearty, it just glides down your throat; you really do not want to be disturbed while eating it. To a Nigerian however, light soup is pretty much pepper soup (with tomatoes). Its just that simple. 
Now, of course all that talk about light soup got me thinking about and hungry for some, and so I decided to make my own.


Heres what I used:
Ingredients

  • 3 ripe tomatoes
  • 1 onion (cut in half)
  • 3 scotch bonnet peppers
  • chicken wings
  • 2 garlic cloves
  • 1/2 a ginger root
  • 0.5 cups of water
  • 1 tbsp of tomato puree
  • 2 cubes of maggi chicken
  • 1 tbsp of salt (more if you want)
Instructions
  1. Wash the chicken wings and place them in a pot. Add the water and put over medium heat.
  2. Wash and add all the other ingredients (tomatoes, pepper, ginger, garlic, tomato puree, salt and maggi) into the pot with the chicken, and cover. Allow it to cook for about 10 minutes.
    The pepper, onions , garlic and ginger are added
    The tomatoes are added

    The maggi cubes (stock cubes) are being added

    The tomato puree is being added
  3. The tomatoes, onions, ginger and garlic would be tender now, take them out  of the pot with a spoon and put in a blender.
    The tomatoes, onions, ginger and garlic put into a blender
  4. Allow the chicken to cook properly. Once they are done, take them out of the pot, to prevent them from scattering inside the broth (this is done if the chicken is soft i.e not a broiler).
    The chicken is allowed to cook
  5. Then transfer the blended mixture back into the pot and allow it to cook for about 10-12 minutes.
    The blended mixture is added and allowed to cook
  6. Taste the soup and add more salt and seasoning if it needs more. You can also add some more water to the soup if it's becoming too thick. After all, its called 'light' soup.
  7. Serve with some fufu or any 'swallow' of your choice. The fufu is usually served in the same bowl as the soup, however, I kinda prefer mine in separate plates. Enjoy!!


Saturday, 23 January 2016

Chewy Nerdy/Emoji Chocolate Chip Cookies

Hi Guys!!!

Hope you had a great week?...I know I did. 

Today, we would be making a batch of my chewy nerdy chocolate chip cookies. Yes guys, you read that right...Nerdy! It's such a simple recipe, but it's definitely guaranteed to blow your mind. 

I'm talking about the beautifully crunchy brown exterior, and the gooey-chewy interior with those delicious milk chocolate-chips, c'mon need I say more? And of course, you can play around and decorate it anyhow you want. From children's birthday parties to science conventions, you are the Judge Judy of your cookie. 


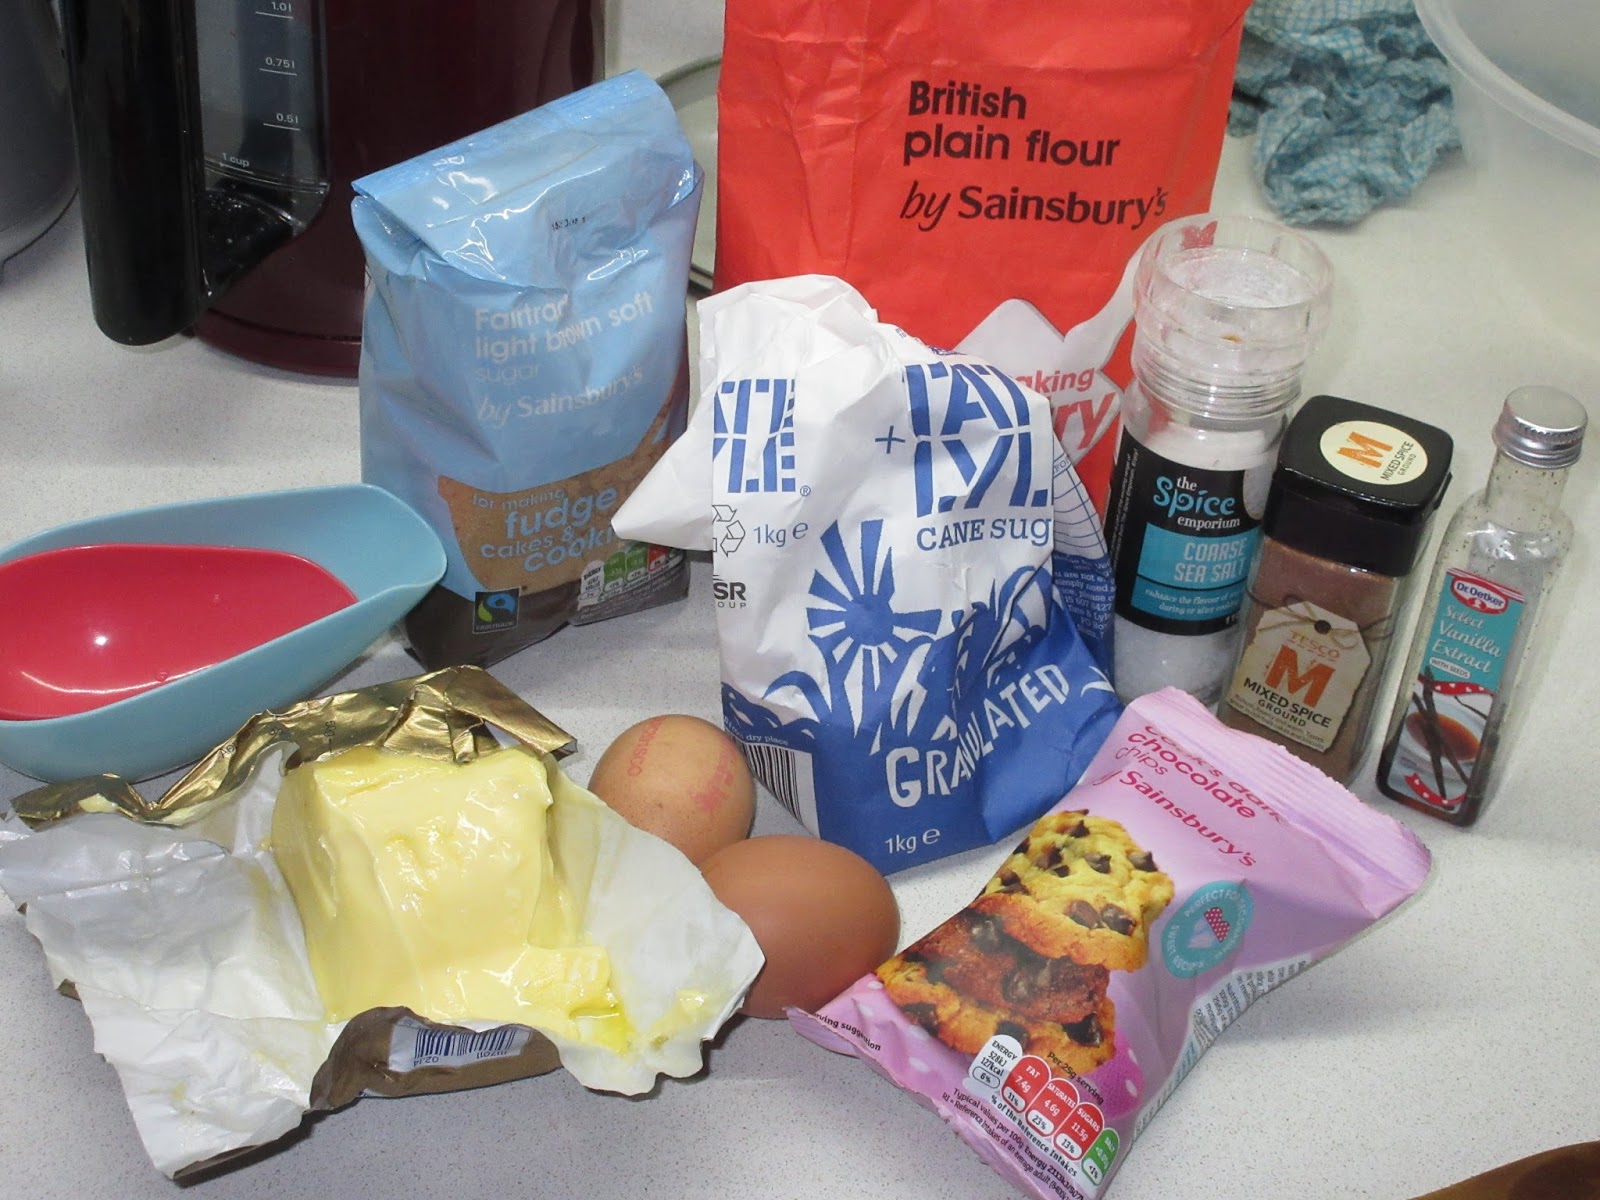
I've decided to go the nerdy/emoji route though, so for this you'll need:

Ingredients

  • 1.5-2 cups of all purpose flour
  • 3/4 cup of room temperature butter
  • 1tsp of bicarbonate soda
  • 1 whole egg & 1 yolk
  • 1 cup of packed ground brown sugar
  • 1/2 cup of white ground sugar
  • 1 Tbsp of Vanilla extract
  • 1 tsp of salt
  • 1/2 tsp of cinnamon+nutmeg+ginger (optional)
  • 1 cup of chocolate chips (or just chop any chocolate bar of your choice into small chips)
Some other things you might need include
  • 2 clean bowls
  • A baking tray
  • A piping bag (or just a regular transparent bag)
  • An electric mixer (a plastic spatula or wooden spoon is also fine)
  • Parchment paper/ baking sheet for lining the baking tray (a knob of butter can also be used to grease the tray) 
  • A pair of scissors
  • An ice cream scoop or teaspoon
Instructions
  1. Pre-heat the oven to 200 degrees celcius and line the baking tray with parchment paper, or grease it with the knob of butter.
  2. Put the softened butter, brown and white sugar into the bowl.
  3. Mix them all together; creaming the butter and sugar can be done with the spatula, spoon or electric mixer.
  4. Creamed butter and sugar
  5. In a separate bowl, sieve the flour, salt and bicarbonate, and set it aside, this makes up the dry ingredients.
    Flour, salt and bicarbonate
  6. Add the whole egg, mix, then add the yolk into the creamed butter and sugar and mix that well. Add in the vanilla extract and other spices (optional) and mix it in well too. This makes up the wet ingredients.
    The yolk added to the creamed butter and sugar
  7. Now gradually add the dry ingredients into the wet, and mix.  It should form a some-what sticky dough (that just comes away from the bowl when mixed). Then add half the chocolate chips and incorporate it into the dough.
    Adding the chocolate chips into the cookie dough
  8. Time to make our individual cookies. Using the teaspoon, take a scoop of your cookie dough and roll it into a ball in-between your palms. Place it onto the baking sheet or on the greased baking tray. 
  9. Ensure you leave some space after each ball, as the cookie would certainly spread out. Do this for the remaining dough, until its all finished.
  10. Now, gently press each rolled ball down on the sheet, so it looses its ball-like shape and looks a bit squished.
  11. Place this into the pre-heated oven, and allow to bake for about 10minutes or until the edges turn brown (the middle would be chewy).
  12. When the cookies are done, remove them from the oven and place them on the work surface and allow it to cool.
    The cookies are fresh out of the oven
  13. Melt the remaining half of the chocolate chips in the microwave and scoop it into the side of a plastic bag. Using the scissors, snip the end of the bag, and draw what ever you like on your cookie.
  14. Allow the chocolate to harden, and then you can enjoy your cookies with a glass of milk.
Tips
  • Ensure that when you add the egg and yolk, you mix it well at one spot before incorporating the whole. This would prevent the butter, sugar and egg from splitting and looking funny.
  • Depending on how you want your cookie, you can either leave it for 10minutes to be chewy or 13 minutes to be more crispy.
  • Ensure your cookies have cooled down a bit before you begin drawing the chocolate over it. This would prevent the chocolate from melting away because of the hot cookie.
  • While melting the chocolate in the microwave, do it at intervals of 5-10 seconds, bring it out and stir. This would prevent your chocolate from burning. It is also a way to temper the chocolate, to ensure it remains solid at room temperature. 


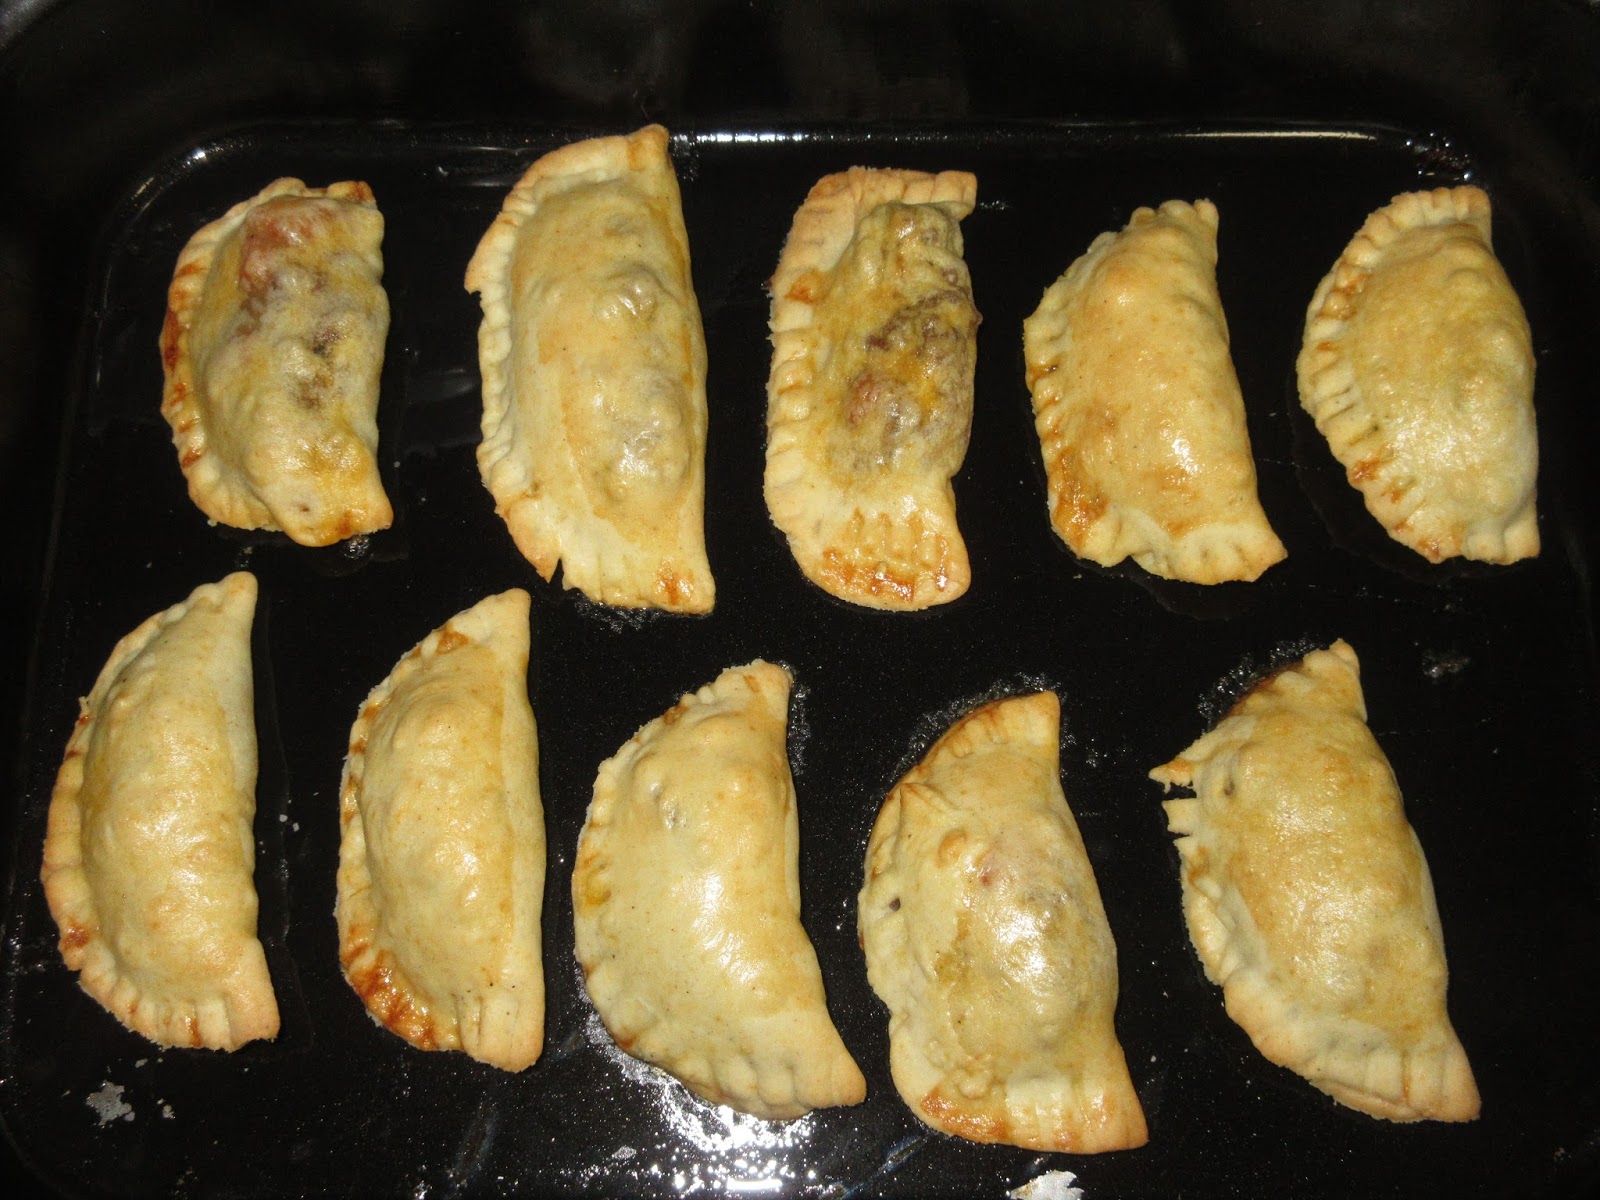
I would like to give a big shout out to '+Tomiwa Adekunle' for trying out the Nigerian Meat-Pie recipe. She said it turned out great and delicious. 

Do share your recipes and pictures with me when you make them, I would certainly love to see how yours turned out. 

You can also either leave me a comment on the blog or just #mzeleanorskitchen on Facebook and Instagram, and I'll definitely check it out. 


Monday, 18 January 2016

The Infamous Nigerian Meat-Pie .....Part 2

Hi Guys!!

Welcome to the second half of our Nigerian meat-pie journey. If you haven't read the first half about how to make the meat filling, go ahead and do that now....don't worry, I'll wait :-)


Now lets get started on the second half of our meat pie.

You'll need
  • One stick of room temperature butter 
  • 300g of self-raising flour (300g of all purpose flour + 1Tbsp of baking powder)
  • 1/2 cup of cold water
  • 1 teaspoon of salt
  • 1 teaspoon of black pepper
  • 1 beaten egg  (for egg-wash)
Some other items you'll need are:
  • A rolling pin
  • A large cookie cutter (or a small plastic cup or anything you can use to cut out circles from the dough)
  • A clean and dry work surface
  • A knob of butter to grease the baking tray
  • A baking tray
  • A clean bowl
  • A pastry brush
  • A fork
  • A teaspoon
Instructions
  1. In the clean bowl, combine the flour, salt and black pepper together. Then add the softened butter.
  2. Using your fingers, rub/massage the butter into the flour/dry ingredients. Make sure that the butter doesn't remain visible, but has been worked into the flour. After doing this, it should come together when pressed in your palm, and just crumble away.
  3. Gently/ gradually add some of the cold water into the flour mixture, folding it in with a spatula (I prefer to use my hands though), as you do, until it forms a dough. 
  4. Kneed the dough on a floured work surface for about 3 minutes, until you are comfortable with it. Then allow it to rest for 5 minutes.
  5. Preheat your oven to 200 degrees celsius. Using the knob of butter, grease the baking tray and set aside.
  6. Flour the work surface, and using the rolling pin, roll-out the dough. Use the cookie cutter to cut-out some circular shapes with the dough.

  7. Now, using a teaspoon, take some of the meat filling, and place it in the centre of the cookie-cut dough. 
  8. Place your index finger in the egg wash and rub it round he rim of the cookie-cut dough. This would act as the glue.
  9. Take the second end of the dough and fold it over the meat filling. Press the fork around the edges to seal the other end in place. 
  10. Transfer the sealed meat-pie onto the greased tray and repeat the process until you've exhausted all the filling and dough.
  11. Using the pastry brush, brush the egg wash onto each meat pie  on the tray (this gives the pie its signature golden brown colour).
  12. Transfer the tray into the pre-heated oven, and allow it to bake for 12-15 minutes.
  13. Once its golden brown and done, remove from the oven and allow to cool for a while.


Tips
  • Be careful not to add too much water into the flour mixture, as this can change the consistency of your dough, and make it  quite soggy. If that happens, you'll need to add some more flour.
  • Try to roll the dough out thinly (not too thin that it begins to tear off when sealed ohh!), but just thin enough so that as you bite into it, you don't have a mouthful of pie without the meat. Theres nothing worse that chewing on a doughy meat-pie.