Showing posts with label igbofoodie. Show all posts

Sunday, 17 April 2016

Nigerian Puff-Puff/ Ghanaian bofrot

Hi Guys!!

Hope you had a wonderful week?...I sure did.

Ever had one of those days when all you want to eat is something fried, hot, soft and yummy, something from home that would be perfect for the horrible spring weather (cold and wet) we are having here. Well, fried yam came to mind first, but I just wasn't in the mood to go looking for yam tubers here in Sheffield.

So, I decided to try out a recipe from way back. Funny thing is, I might probably be the first or only Nigerian child that never actually had puff puff made at home. I'm not sure why, but for some reason, I don't remember my mum making it for us. I remember having it as a child though because one of my uncles bought it from a hawker on the street. 


I didn't eat it again until I went to Ghana. Its actually called 'Kose' in there, its made into very huge balls and is usually served as breakfast with some 'koko' which is pretty much very light and watery 'pap/akamu' in Nigeria.  From the kose-seller down my street, you would probably get about two huge balls of 'kose' with about a cup of 'koko' and that was a very filling breakfast... trust me!

So, I decided to re-create those fond memories of 'kose/ puff puff' without the koko/ akamu in this recipe, and make mine a bit more playful, and small for portion control. 

So heres how I made it.

Ingredients
  • 1tbsp of yeast
  • 2 cups of flour
  • 1tsp of nutmeg
  • 1/2 cup of warm water
  • 1/2 cup of warm milk
  • 1tbsp of sugar
  • 1 tsp of salt
  • 1 egg (optional)
  • 1 tsp of pepper
  • 2 litres of oil for frying
Instructions
  1. In a bowl, place the flour, salt, nutmeg, egg (optional) and pepper then mix together. It might became sticky and almost doughy if you add the egg, if not it would just be the dry ingredients.
    Flour in the bowl

    Adding the nutmeg

    Adding salt into the flour and nutmeg
  2. Add the cup of warm water into the cup of milk, add the sugar and mix. Then add the yeast and allow it to activate for about 5 minutes.
    Yeast being added to the warm milk and water

    Activating the yeast
  3. Gradually add the yeast mixture into the dough or flour mixture and mix till it becomes slightly runny and sticky. 
    Adding the yeast into the flour


    Sticky batter
  4. Cover with a cling film or towel and place in a warm place for about 20 minutes.
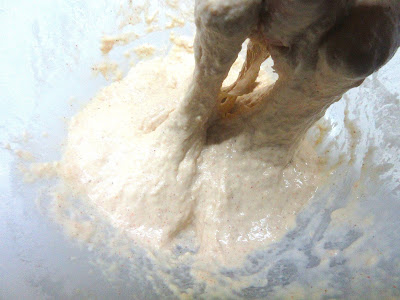
    After 20 minutes, bubbles begin to form in the batter
  5. Place the frying oil in a deep pot and allow it to heat up.
    Heating up the oil
  6. Scoop the batter into the hot oil, and allow it to fry until it puffs up in the pan and the bottom begins to turn golden brown. Then flip it over and allow the other side to turn brown. (Mine had funny shapes...lol)
    Placing the batter into the hot oil

    Flipping one side over
  7. Remove from the oil, and serve immediately.


Monday, 4 April 2016

Beef and Shrimp Pot sticker

Hi Guys!!

Hope you are having a great week? ....I certainly am!


So, over the weekend I had some girlfriends from church over for lunch. I had been procrastinating this get-together for a while now, just because I couldn't really find the time to host or cook something exciting, especially with all the school work I had going on. But after going over to Anna's place, and relaxing a bit, I figured it was about time. Of course,  keeping with my inspiration over at Bristol, a Chinese themed meal couldn't be half bad. 


So, I decided to make a three course meal for them, but I really didn't want to spend all day in the kitchen. I had also gone grocery shopping the day before, and just got the essentials I needed for the week. So, with this three-course meal, I was also on a budget. Usually, most Asian cuisines have a tonne of ingredients, which actually makes them pretty yummy. But this igbo chick wasn't going to spend any more than she had to. 

For my appetiser, I decided to make some 'Potstickers'. I felt it was probably the simplest, in-expensive and excitingly yummy thing to make. Plus I already had all the ingredients in my fridge from my shopping. So here's how I made them.


Ingredients
For the filling
  •  1 cup of minced meat
  • 1/2 cup of shrimps/prawns
  • 1/2 cup coriander
  • 1tsp salt
  • 1tsp pepper (fresh or dried)
  • 1tsp chopped garlic
  • 1tsp chopped ginger
  • 1-2 Mushrooms (optional)
For the dough
  • 1.5 cups of flour
  • 1 cup of hot water
  • 1tsp of salt
Extras
  • Rolling pin
  • Cling film
  • A cup or cookie cutter
  • Frying pan (with a cover or a large plate)
  • 1/3 cup of water
  • 2 Tbsp of oil

Instructions
  1. To make the dough, put the flour into a clean bowl, add the salt and mix. Gradually add the hot water into the flour, and mix to form a dough. Knead the dough on the work surface very well, and ensure it is not too sticky (add a little flour if it is). The dough should spring back when pressed. Place in a cling film to prevent it from drying out.
    Dough covered with cling film
  2. Add all the filling ingredients into a food processor, and pulse until its well combined, then transfer into a bowl.
    Coriander, mushroom, shrimps, beef mince, pepper (filling)

    Filling in the food processor
    The filling pulsed
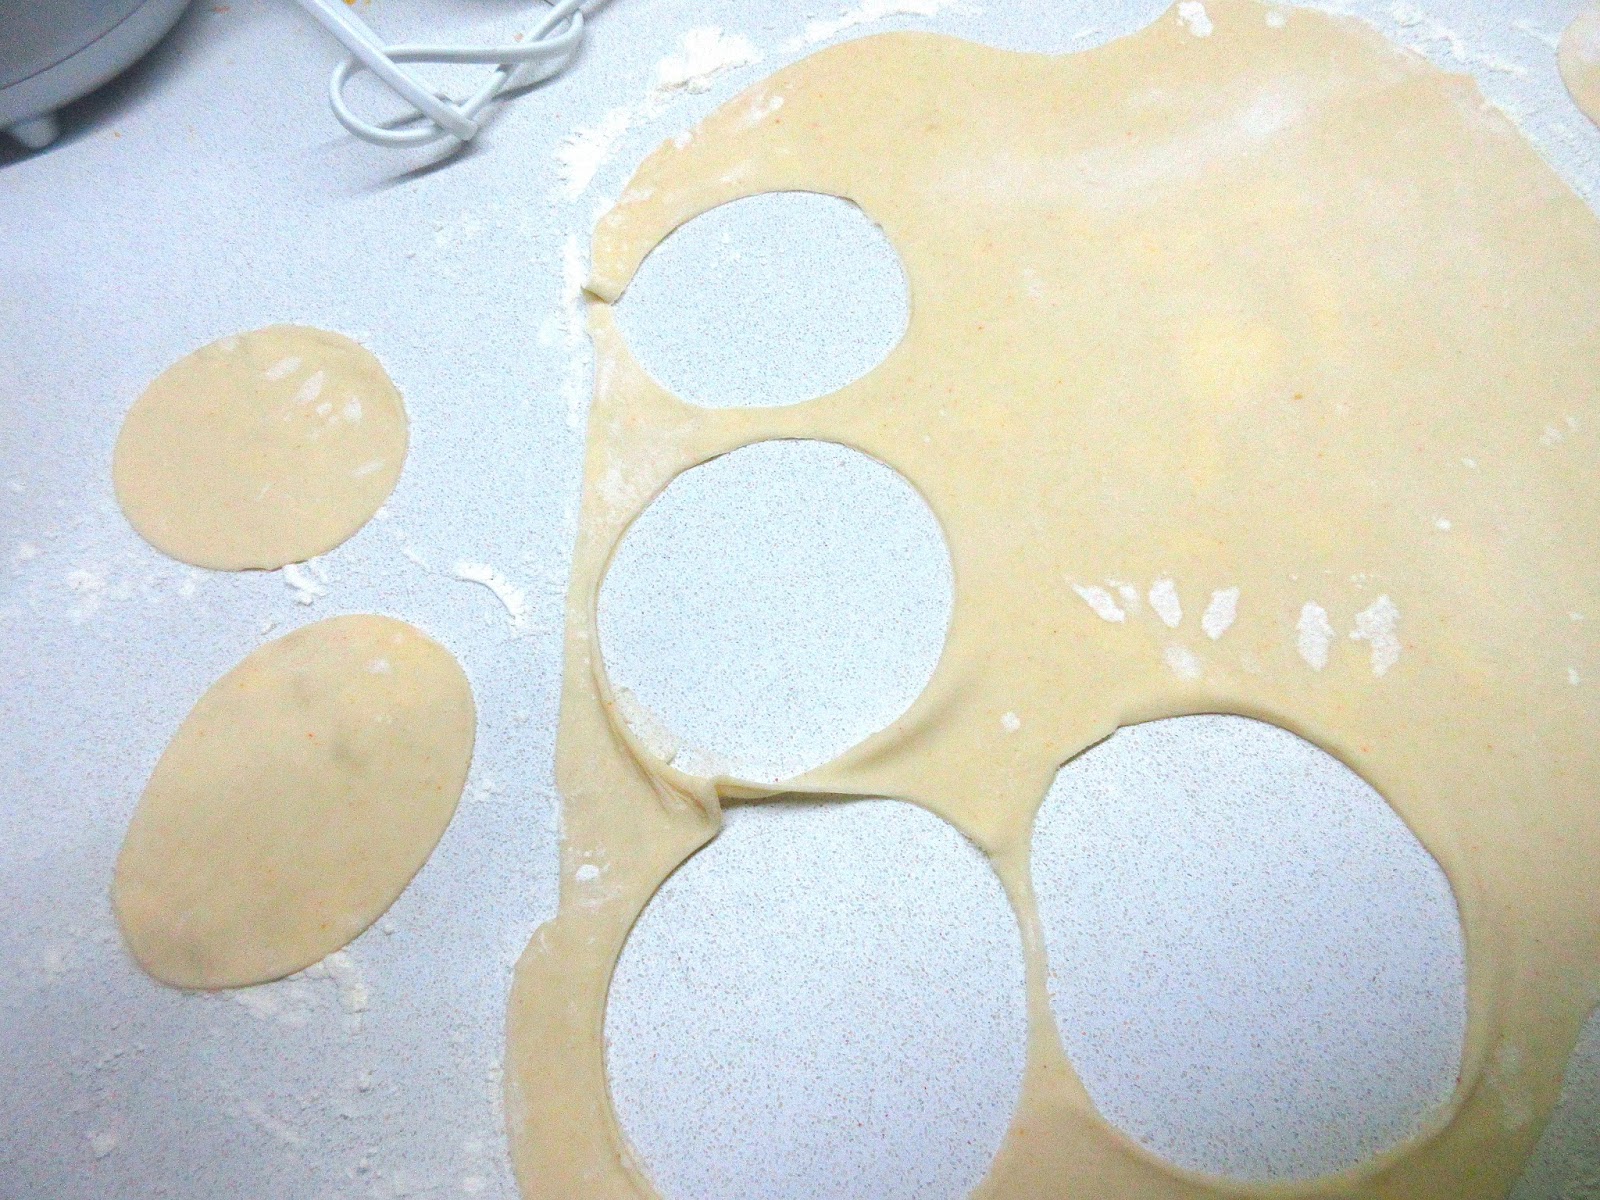
  3. Roll out the dough (use half) with a rolling pin, until its about a millimetre thin. Use a cookie cutter to cut out large circular shapes from the dough.
    Circular shapes cut out of the rolled dough
     
  4. Taking one of the circular dough pieces into the palm of your hands and place a teaspoon of the filling in the centre of the dough.
  5. Dip a finger into the extra cup of water, and create a seal round the edges of the dough. Then use your other hand and press both edges together and crimp. 
    Crimping the edges together
  6. You can make pleats with the dough for a more decorative look. Do this for all the others.

    Pleats on the dough
  7. Add about 4 tablespoons of water and 2 tablespoons of oil into the frying pan and place it on low to medium heat.

  8. Add the potstickers into the pan, and cover it. Allow it to steam for about 3 minutes.

    Steaming the potstickers
  9. Remove the cover and allow the water to evaporate, leaving the oil in the pan.
    The water evaporating from the pan

    Golden brown potstickers
  10. Once this is done, remove the potstickers from the pan, and serve.
Tips
  1. Potstickers can be served with a variety of sauces, from regular soy sauce, to teriyaki. But I used my Sweet and Sour sauce (recipe would be shown in the next post).
  2. 3-4 minutes is enough for the meat to cook by steaming because the dough wrapper is thin enough. 
  3. You can use any combination of meats you like as your filling. 


Try out the recipe and #eleanorzkitchen to share pictures on instagram and Facebook.

General Tso's Chicken

Hi Guys!!

Hope you had a wonderful week?...I sure did!

Yesterday, I went to visit my friend Anna in Bristol. We met at a medical symposium three weeks ago, and just hit it off. She told me that she spent her last summer in Ghana, so it was fun to reminisce about the GH-life, places and of course the food. After the symposium, she invited me over to her place and I promised her a visit. 

We had a fun day together and I guess the most memorable part of the visit for me was the food naturally (#wink). She didn't cook, but ordered some Chinese take -away for us. The food arrived, she dished it and served me.  I almost licked the plate. IT WAS FINGER LICKING GOOD!!... I had to ask what she ordered, and she said its called 'General Tso's Chicken'. 

When I got back, I knew I had to try and re-create it at home, so I started my research. Its a pretty simple recipe, but its got a lot of ingredients and components.  The ingredients are pretty much the same in a lot of the recipes, but I was able to tweak it to my taste.


There are three parts to this recipe. 

First, I had to make the base sauce or brown sauce. This sauce has a lot of ingredients but it is pretty versatile.  I've used it in my stir fry recipes; beef, chicken, vegetable and egg fried rice. It can also keep in the fridge for a while. I kept mine for about three (3) weeks and use it when ever I want. Next was to make the General Tso sauce, which was pretty easy, and finally the chicken has to be seasoned and prepped for frying.

So this is how I made mine.

Ingredients
For the base sauce
  • 1/3 cup of oyster sauce
  • 2 Tbsp of hoisen sauce
  • 1 cup of light soy sauce
  • 1/2 cup of cooking wine (I used a regular white wine)
  • 2 Tbsp of dark soy sauce
  • 1/3 cup of sugar
  • 1 Ginger root
  • 1 Spring onion (cut into three parts)
  • 2-3 Garlic cloves
  • 2 cups of heated chicken stock
To make the general tsp's sauce
  • 1 Tbsp of sweet chilli sauce (sugar is an alternative)
  • 1/2 cup of vinegar
  • 1 Tbsp of chilli sauce (siracha)
For the chicken
  • 1-2 chicken thighs (chopped into small pieces)
  • 1 tsp of salt
  • 1/2 tsp of garlic powder
  • 1/2 tsp of pepper
  • 1 egg
  • 1 tsp baking soda
  • 1/3 cup of corn starch
  • 2 Tbsp of vegetable oil
  • 3 cups of oil for frying
Extras
  • 1 Tbsp of chopped garlic
  • 1 Tbsp of chopped spring onions
  • A wok
  • Bowls
  • Slurry: 1tsp of corn starch + 1tbsp of water
Instructions
  1. In a bowl, combine all the ingredients for the base sauce and set it aside. The spring onions, garlic and ginger need to infuse for about 30-60 mins. Then they should be removed  with a sieve.
    A cup of the base sauce
  2. Make the general two sauce by combining all the ingredients together, and set aside.
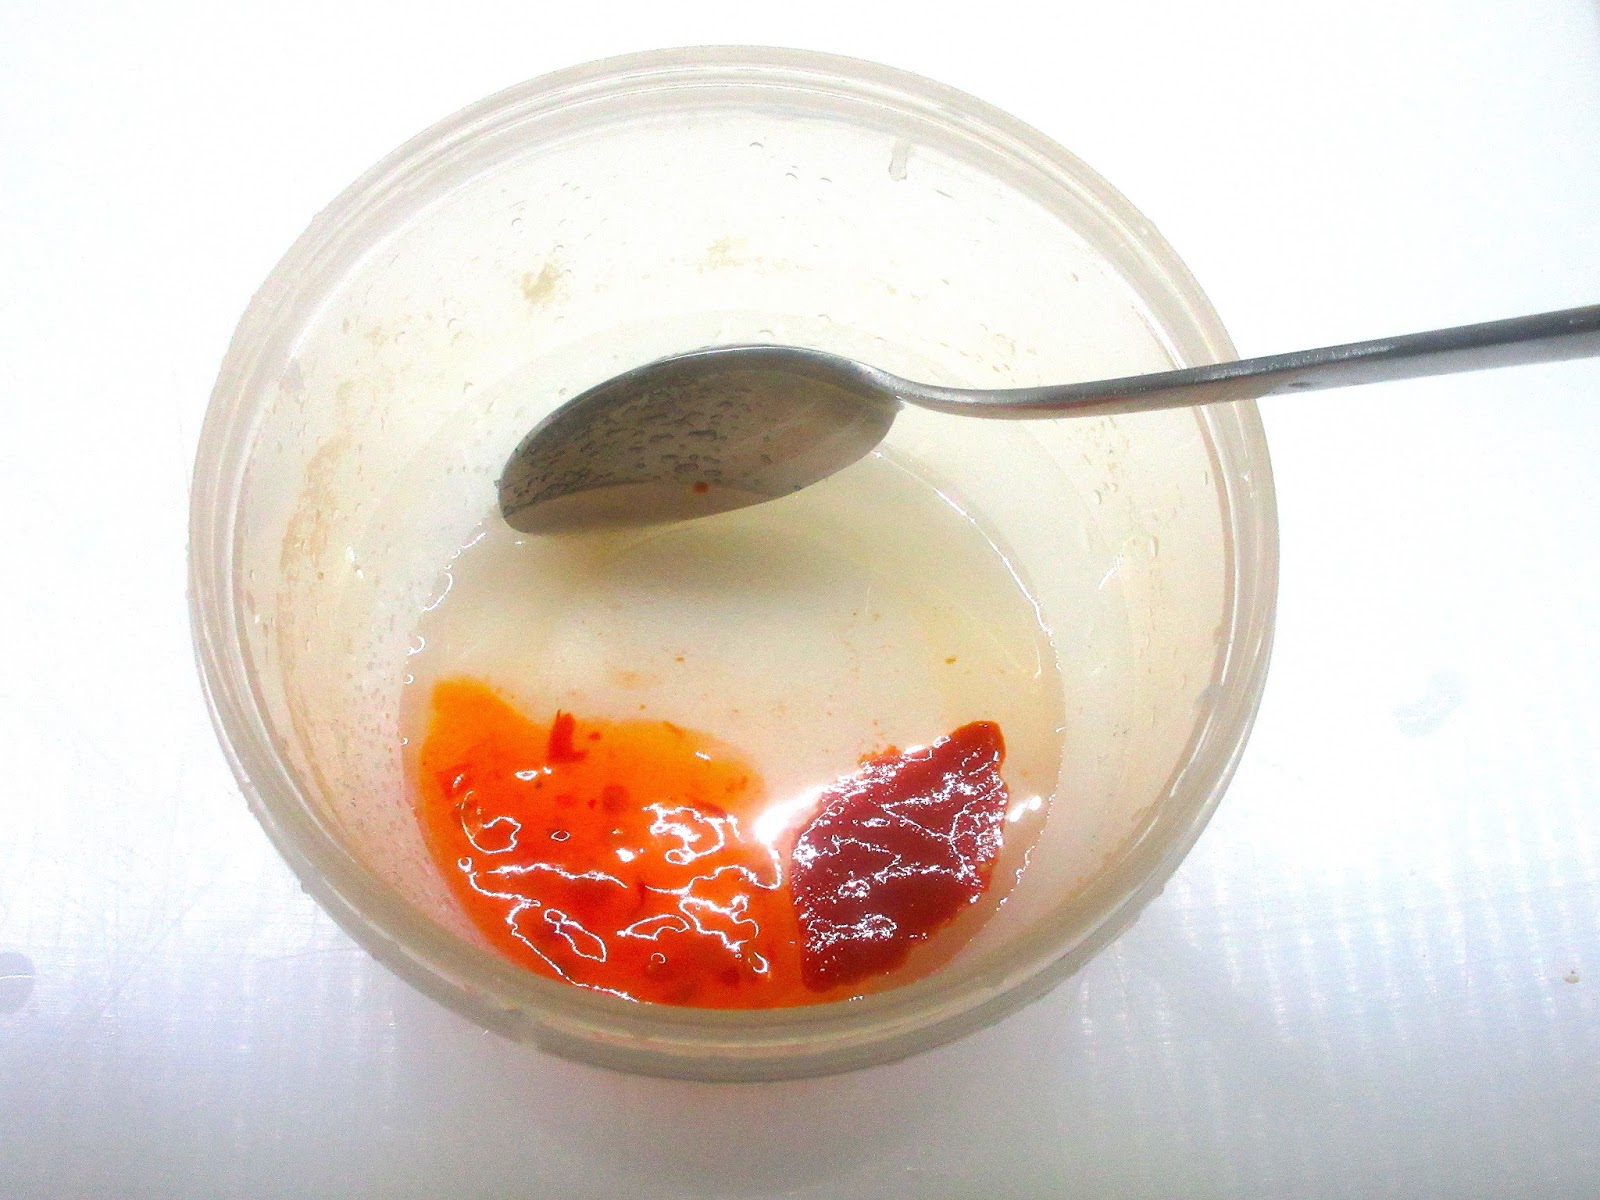
    The vinegar, chilli sauce and sweet chilli sauce

    The General Tso sauce
  3.  Take the quantity of base sauce you would need ( I used 1 cup) and combine it with the general tso sauce, mix and set aside.
    The base sauce

    Adding the general two sauce to the base sauce

    The combined sauces
  4. Chop the extra garlic and ginger and set aside.
    The green onion and garlic

    Chopped green onion and garlic
  5. Place the chopped chicken thighs in a bowl. 
    Chopped chicken thighs
  6. Add the salt, garlic powder, pepper, egg, baking soda  and mix very well.
  7. Adding salt to the chicken

    Pepper added

    Garlic powder added

    An egg added

    The baking soda added

  8. Cover the bowl with cling film, and place in the fridge for about 20-30 minutes.
  9. Remove the chicken from the fridge, add the corn starch and mix well. Then add the 2 tbsps of vegetable oil and mix well. This would help make the batter smooth.
    Adding the corn starch into the mixture

    Adding the oil to the corn starch mixed chicken

    The oil mixed into the batter
  10. Place the pot of oil on the stove and allow it to heat up.
  11. Add the chicken pieces one by one, using a toothpick into the hot oil (carefully) and allow it to fry for about 4 minutes. Then remove and drain on a kitchen towel.
    Placing the chicken pieces into the pot of oil

    Frying the chicken 

    Check out the beautifully smooth coating on the chicken

    Removing the pieces from the oil after 4 minutes
    Chicken placed on kitchen towels to allow the oil drain off
  12. Place the wok on fire, and add about 2 tbsps of oil into it. Now add the chopped garlic and spring onions and sauté for a bit (don't allow it to burn kinda like mine did).
    Spring onions and garlic in the wok
  13. Now add the general Tso's sauce into the wok, and allow it to heat up. Add the slurry, stir and allow the sauce to thicken bait before adding the chicken pieces.
    Adding the general Tso sauce into the wok

    Making the slurry

    The sauce is beginning to thicken
  14. Coat the chicken pieces with the sauce and remove from the heat. 
    Adding the chicken into the sauce 


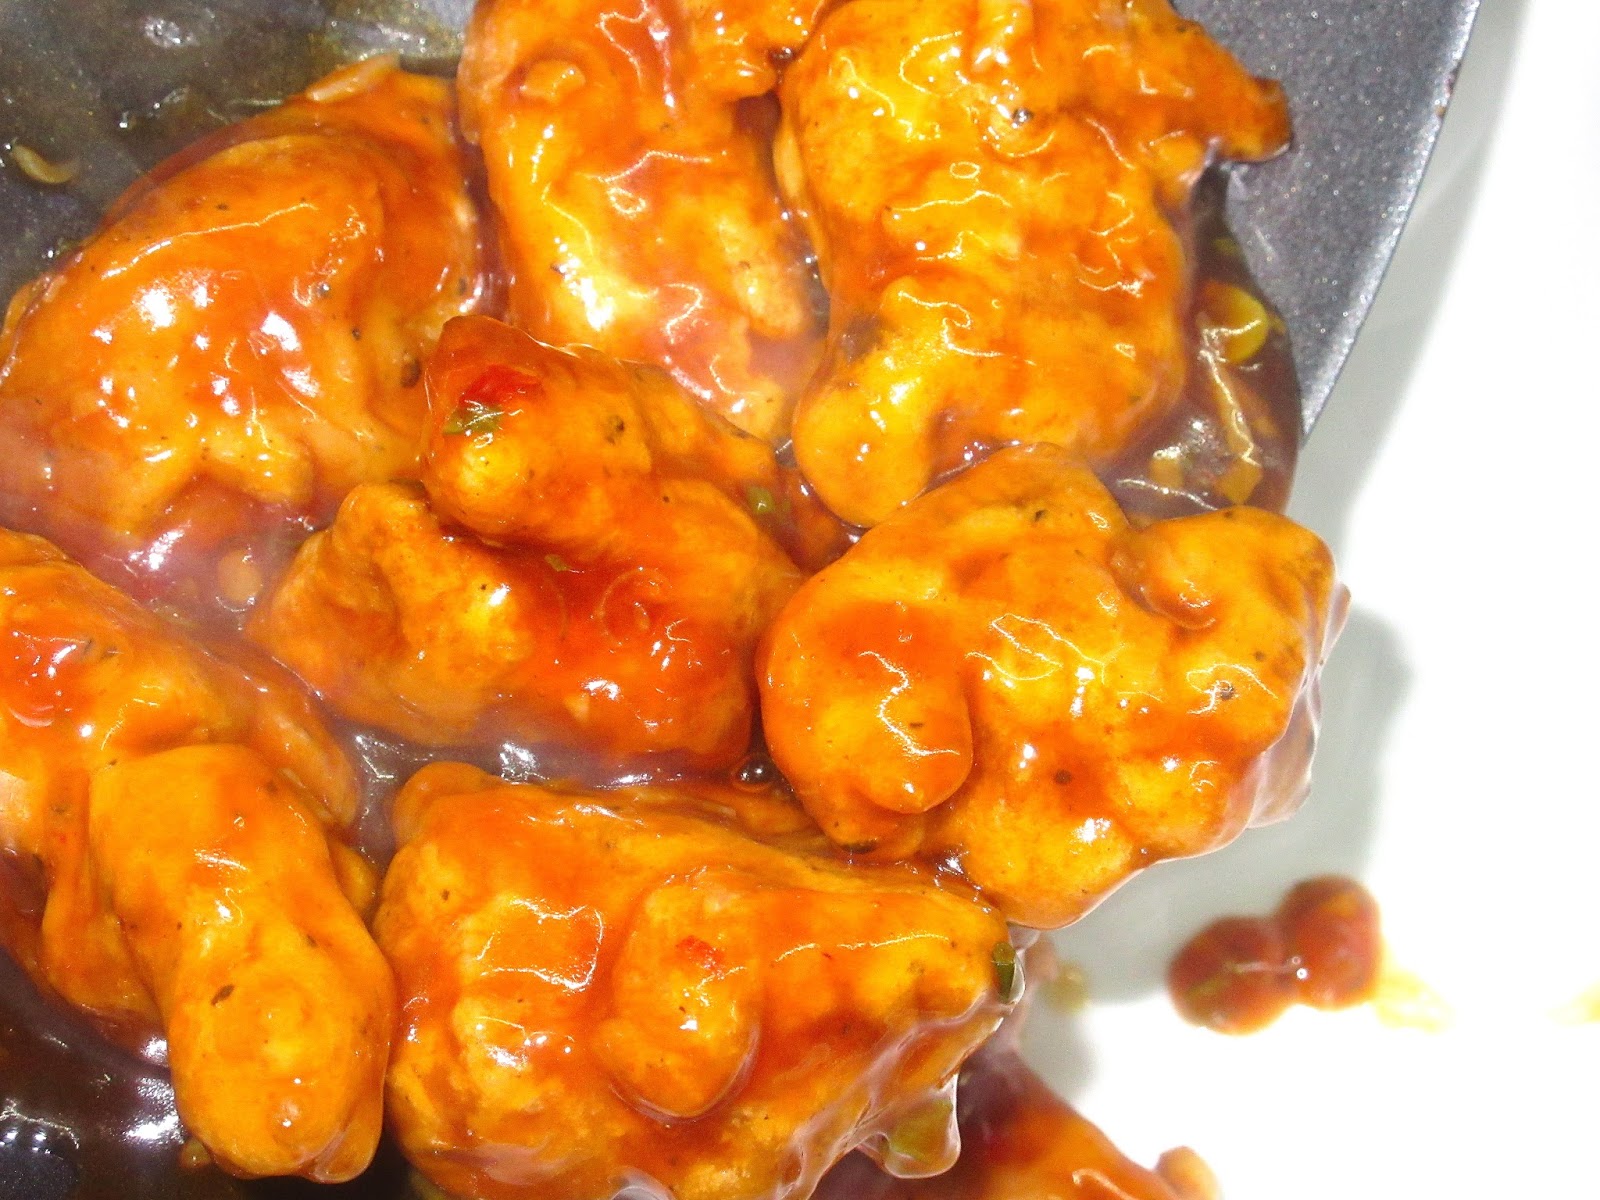
    Chicken coated in the sauce
  15. Now serve. 
    Removing the chicken from the wok into a plate
Tips
  1. Most of these ingredients can be found in your local Asian market or supermarket, and are relatively in-expensive.
  2. Try to ensure the garlic doesn't burn in the wok.
  3. The quantity of ingredients you use in the chicken depends on the quantity of chicken you would be using, so make it according to your taste.
If you do try this recipe out, don't forget to hashtag #eleanorzkitchen so I could see how yours turns out.