Sunday 21 February 2016

Homemade Pasta (From Scratch) without the machine

Hi Guys!!

So, if you've read my last post on the molten larva cake, you'll see that I was going to teach Maria how to make some homemade pasta for her new guy. To kinda give them that 'Lady and the Tramp' moment. (#singing- Oh, this is the night, its a beautiful night, and we call it bella notte).


To me, there are very few things in the culinary world more sexy than fresh homemade pasta. If you've ever made your own pasta from scratch....TRUST ME!!...you won't want to eat those store bought ones again. The difference is just sooo clear.


Surprisingly, its very easy to make with just a handful of ingredients....I'm talking just 1, 2, 3 actually! There are usually two methods used, one is certainly more time consuming than the other (Italian grand mother style), and can certainly deter you from pasta making all together. The other one is so easy, you can actually sip some wine as you make it (thats my favourite). So, I'm going to show you how I make mine.


Here goes:

Ingredients
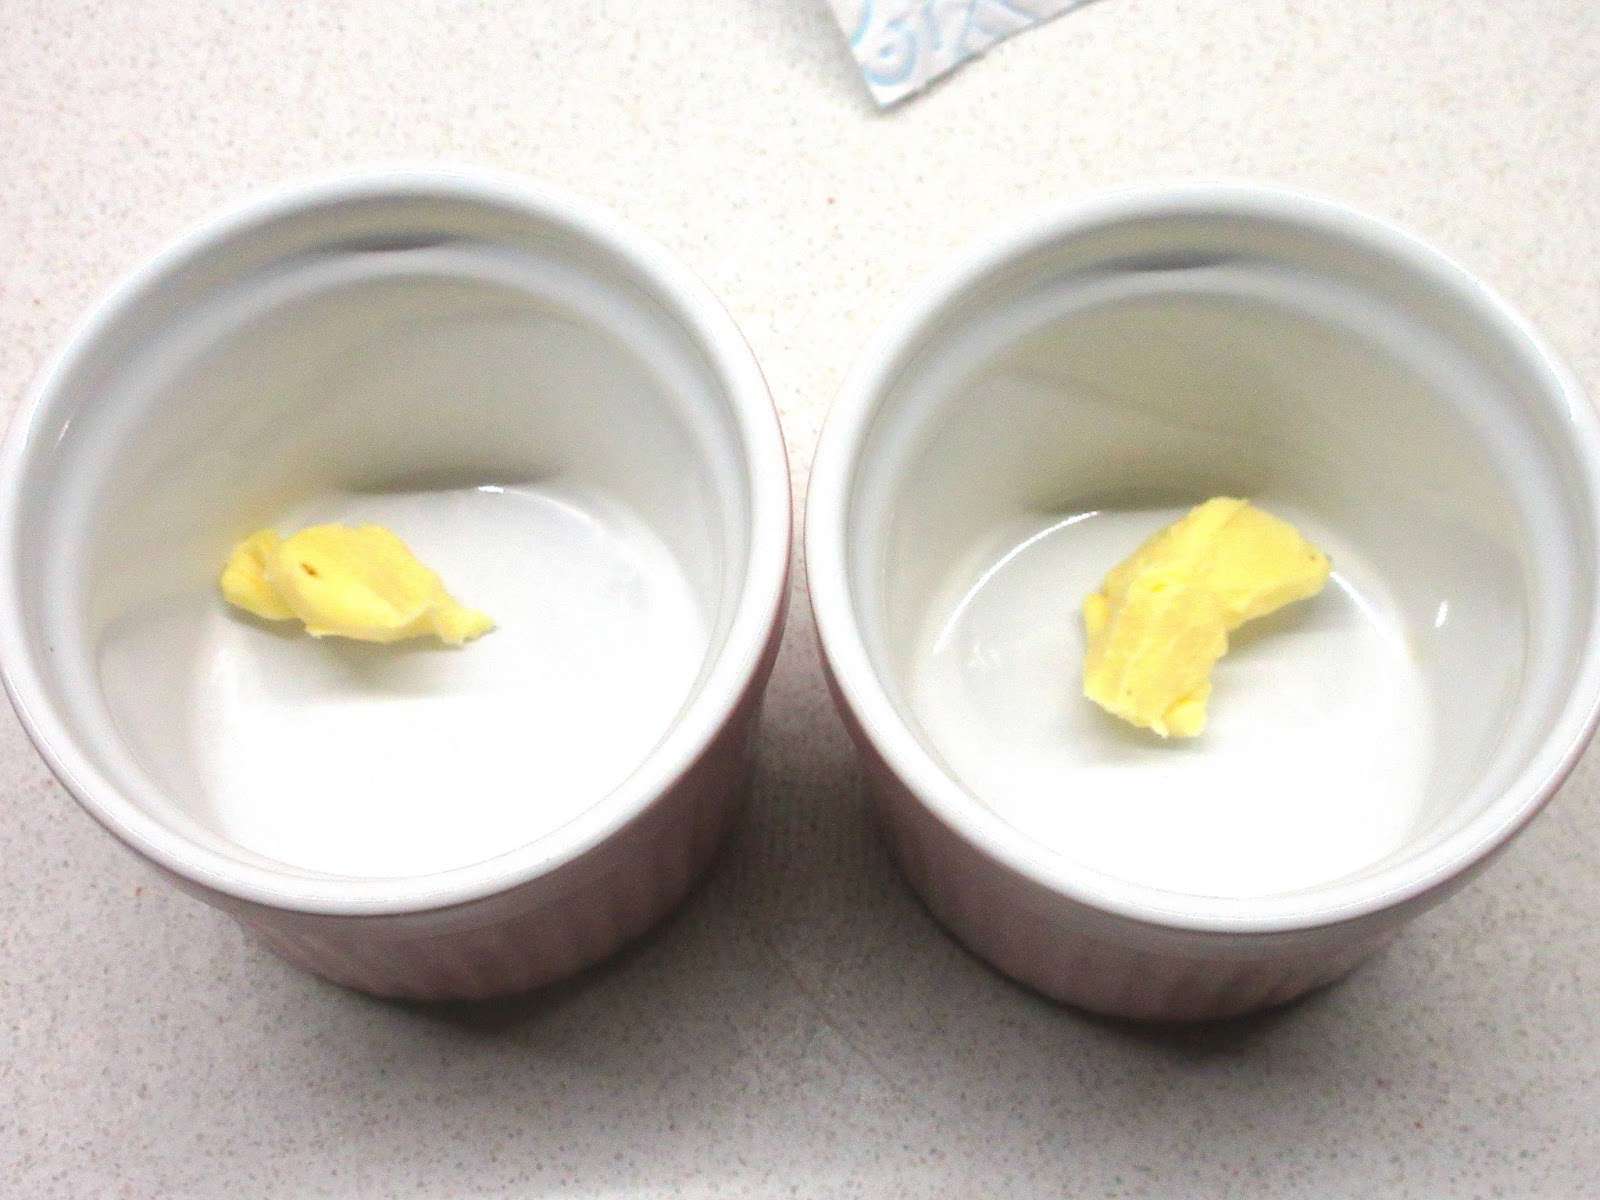
  • 1 cup of flour and extra for dusting
  • 1 Large egg or 2 small ones
  • 2 tbsp of olive oil
  • A pinch of salt (optional)
Other things you'll require include
  • A food processor
  • A roll of cling film
  • A clean tea towel (dampened)
  • A pasta machine (or rolling pin)
  • A knife
  • A clean work surface
  • Your choice of tomato stew and garnish
Instructions
  1. Mix the flour and salt together, and place in the food processor.
  2. Then add the egg and olive oil into the food processor, and begin to pulse. It can also be done in a bowl or table-top (grandma style). If the dough becomes too sticky, add a little more flour. It should eventually form a very soft dough.

  3. Remove the dough from the processor, and place on a lightly floured surface, and begin to knead. Kneed for about 10 minutes  and continue to add more flour little by little until it stops sticking to your hands and work surface, and it becomes smooth and elastic.
  4. Wrap the dough in cling film to prevent it from drying out, and allow it to rest for about 30 minutes.
  5. Once the dough has rested, remove from the cling film and place on a floured surface. 
  6. Using the rolling pin, roll out the pasta very thinly, it should be as thin as a paper. Pick it up and turn it around, to prevent it from sticking to the surface. If you have a pasta machine, this should be easy. If not, its going to require a lot of elbow grease.
  7. Once the dough is flat enough, flour it generously and fold it overlapping each other. 
  8. Use the knife and cut about 1/2 inch pieces.
  9. Then open up the pieces and flour generously.

  10. Put a pot of salted water on the stove, and bring to a boil.
  11. Put the pasta into the water, and allow to cook for about 3.5minutes, not more than 4 mins, or until its al dente. You can start on the tomato sauce now....we decided to use some tomato stew I made earlier.
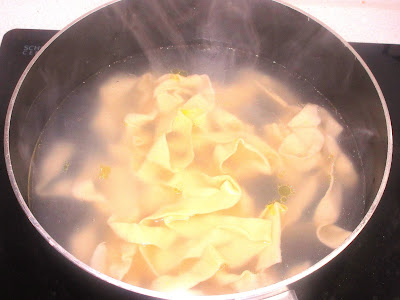
  12. Remove from the water and set aside.
  13. Put the sauce in pot or pan and heat it up. Then add the pasta into the sauce, and mix.


  14. Then transfer into a bowl or plate, garnish with some parsley or coriander and of course in true Italian style, shred some parmigiano-reggiano cheese onto the pasta....Enjoy!.


Healthy Breakfast Muffins

Hi Guys!!

Today, I've decided to give myself a healthy treat for breakfast. 

I normally just make a glass of fruit smoothies with some protein powder (when I remember), and rush out to work. But I always end up hungry after about an hour or two. So Ive decided to make something that would also be relatively healthy for me, but also filling. It also has to be something I could easily carry out with me, and eat on the go. 

So, I decided to make these delicious breakfast muffins. They are made with fruits/veggies like apples and carrots and good fibres from the oats. They are also really moist 'cos I added some yoghurt and are packed with energy for a workaholic like me.


Also, this is  pretty much a one bowl recipe, which is what I love most about it.... (lazy lazy)... so no need for me to wash up so many utensils. Plus I used cupcake liners so I could also hand them out at work.

So here's how I made it:

Ingredients
  • 2 tbsp of butter
  • 2 eggs
  • 2 tbsp of natural yoghurt (greek yoghurt is also fine)
  • 1/3 cup of brown sugar or stevia (sweetener)
  • 1 long carrot (grated)
  • 1 big apple or 2 small ones (grated)
  • 1/3 cup of rolled oats
  • 1/2 tsp of orange zest
  • 1 tsp of salt
  • 1 tsp of nutmeg and cinnamon
  • 1/2 cup of self-raising flour
Instructions
  1. Pre-heat the oven to 180 degrees celsius, and line the cupcake tray with the liners.
    Cupcake liners in the muffin tray
  2. Cream together the butter and sugar, then add the eggs and yoghurt.
    Yoghurt added to the egg mixture.
  3. Add the zest of an orange, nutmeg, cinnamon and salt.
    Orange zest added to the egg mixture
  4. Grate in the apples and carrot into the mixture, then add the flour and rolled oats and mix well until everything is well incorporated.
    Oats, flour, spices, carrot and apples

    Everything mixed together
  5. Using an ice-cream scoop or spoon, transfer the mixture into the cupcake liners.
    Using an ice-cream scoop to transfer into a cupcake liners

    Mixture in the cupcake liners
  6. Place in the oven for about 15-20 minutes or until a tooth pick inserted into the centre of a cupcake comes out clean.

  7. Remove from the oven and allow to cool for about 5 mins, then Enjoy!

Chocolate Molten Larva Cake

Hi Guys!! 

I'm making something extra special today. 

There's this guy my friend Maria fancies, and he is coming over to our flat this evening. She really wants to impress him with a home cooked meal, but certainly doesn't want to spend all day in the kitchen, so she asked for my help. In the true nature of friendship, I was willing to. 

I decided we would make some homemade pasta for the main course and a molten larva cake with toffee ice-cream for dessert. Both are really romantic meals plus they are also easy to make, and we could just do most of the prep work before he arrives. She could then put the finishing touches to the meals in his presence #wink.


So here's what we made:
Ingredients
  • 130g dark chocolate
  • 2 eggs
  • 1 tsp vanilla extract
  • 120g of butter
  • 1 cup icing sugar
  • 1/3 cup of flour
  • A pinch of salt
Other things required
  • 2 Ramekins (or muffin moulds/ moi-moi cups)
  • A knob of butter
  • 2 bowls
  • An oven pan
  • A whisk
  • 1 Tbsp of cocoa powder
Instructions
  1. Pre-heat the oven to 180 degrees celsius.
  2. Crack two eggs into a bowl, add the icing sugar, salt and vanilla extract. Mix well until the sugar dissolves.
    Adding the sugar to the eggs

    Eggs, sugar and vanilla incorporated
  3. Melt the chocolate and butter together, either in a microwave for 20 seconds or over a pot of boiling water and set aside.
    Melted chcocolate
  4. Transfer the melted chocolate into the egg mixture, and mix well to combine. It should be light and smooth like a ganache.
    Adding the chocolate ingot he egg mixture

    Chocolate incorporated into the egg mixture
  5. Now add the flour into the mixture, and gently mix it into the chocolate mixture.
    About to add the flour

    Added flour

    Flour incorporated
  6. The take your ramekins and grease them with the knob of butter. Then take the cocoa powder and put into the buttered moulds. Run it around until it has coated both ramekins, then set aside.
    About to butter the ramekins

    Buttered ramekin

    A teaspoon of cocoa powder into the ramekin

    Coating the buttered ramekins with cocoa powder

    Cocoa powder coated ramekins
  7. Carefully transfer your mixture into the ramekins, with a spoon  till it is about 2/3rd of the way ensuring that it doesn't spill. For variety you can place a white chocolate bar into the mixture.
    The mixture in the ramekins

    A white chocolate bar added to the mixture
  8. Place the ramekins in an oven pan, and place in the preheated oven for  8-10 mins.
  9. Once they are done, remove from the oven and allow to rest for about 2 minutes.
    Fresh out of the oven
  10. Carefully turn them over on a plate. 
    Carefully turning it over

    Out of the ramekin
  11. Serve with your favourite ice-cream. Break open the cake and see the larva flow....Enjoy! 
Tips
  1. The mixture can be placed in the ramekin and left there until your guest arrives. So you can put it in the oven when you're about ready to serve.
Try it out and #eleanorzkitchen