Showing posts with label cake. Show all posts

Sunday, 21 February 2016

Healthy Breakfast Muffins

Hi Guys!!

Today, I've decided to give myself a healthy treat for breakfast. 

I normally just make a glass of fruit smoothies with some protein powder (when I remember), and rush out to work. But I always end up hungry after about an hour or two. So Ive decided to make something that would also be relatively healthy for me, but also filling. It also has to be something I could easily carry out with me, and eat on the go. 

So, I decided to make these delicious breakfast muffins. They are made with fruits/veggies like apples and carrots and good fibres from the oats. They are also really moist 'cos I added some yoghurt and are packed with energy for a workaholic like me.


Also, this is  pretty much a one bowl recipe, which is what I love most about it.... (lazy lazy)... so no need for me to wash up so many utensils. Plus I used cupcake liners so I could also hand them out at work.

So here's how I made it:

Ingredients
  • 2 tbsp of butter
  • 2 eggs
  • 2 tbsp of natural yoghurt (greek yoghurt is also fine)
  • 1/3 cup of brown sugar or stevia (sweetener)
  • 1 long carrot (grated)
  • 1 big apple or 2 small ones (grated)
  • 1/3 cup of rolled oats
  • 1/2 tsp of orange zest
  • 1 tsp of salt
  • 1 tsp of nutmeg and cinnamon
  • 1/2 cup of self-raising flour
Instructions
  1. Pre-heat the oven to 180 degrees celsius, and line the cupcake tray with the liners.
    Cupcake liners in the muffin tray
  2. Cream together the butter and sugar, then add the eggs and yoghurt.
    Yoghurt added to the egg mixture.
  3. Add the zest of an orange, nutmeg, cinnamon and salt.
    Orange zest added to the egg mixture
  4. Grate in the apples and carrot into the mixture, then add the flour and rolled oats and mix well until everything is well incorporated.
    Oats, flour, spices, carrot and apples

    Everything mixed together
  5. Using an ice-cream scoop or spoon, transfer the mixture into the cupcake liners.
    Using an ice-cream scoop to transfer into a cupcake liners

    Mixture in the cupcake liners
  6. Place in the oven for about 15-20 minutes or until a tooth pick inserted into the centre of a cupcake comes out clean.

  7. Remove from the oven and allow to cool for about 5 mins, then Enjoy!

Chocolate Molten Larva Cake

Hi Guys!! 

I'm making something extra special today. 

There's this guy my friend Maria fancies, and he is coming over to our flat this evening. She really wants to impress him with a home cooked meal, but certainly doesn't want to spend all day in the kitchen, so she asked for my help. In the true nature of friendship, I was willing to. 

I decided we would make some homemade pasta for the main course and a molten larva cake with toffee ice-cream for dessert. Both are really romantic meals plus they are also easy to make, and we could just do most of the prep work before he arrives. She could then put the finishing touches to the meals in his presence #wink.


So here's what we made:
Ingredients
  • 130g dark chocolate
  • 2 eggs
  • 1 tsp vanilla extract
  • 120g of butter
  • 1 cup icing sugar
  • 1/3 cup of flour
  • A pinch of salt
Other things required
  • 2 Ramekins (or muffin moulds/ moi-moi cups)
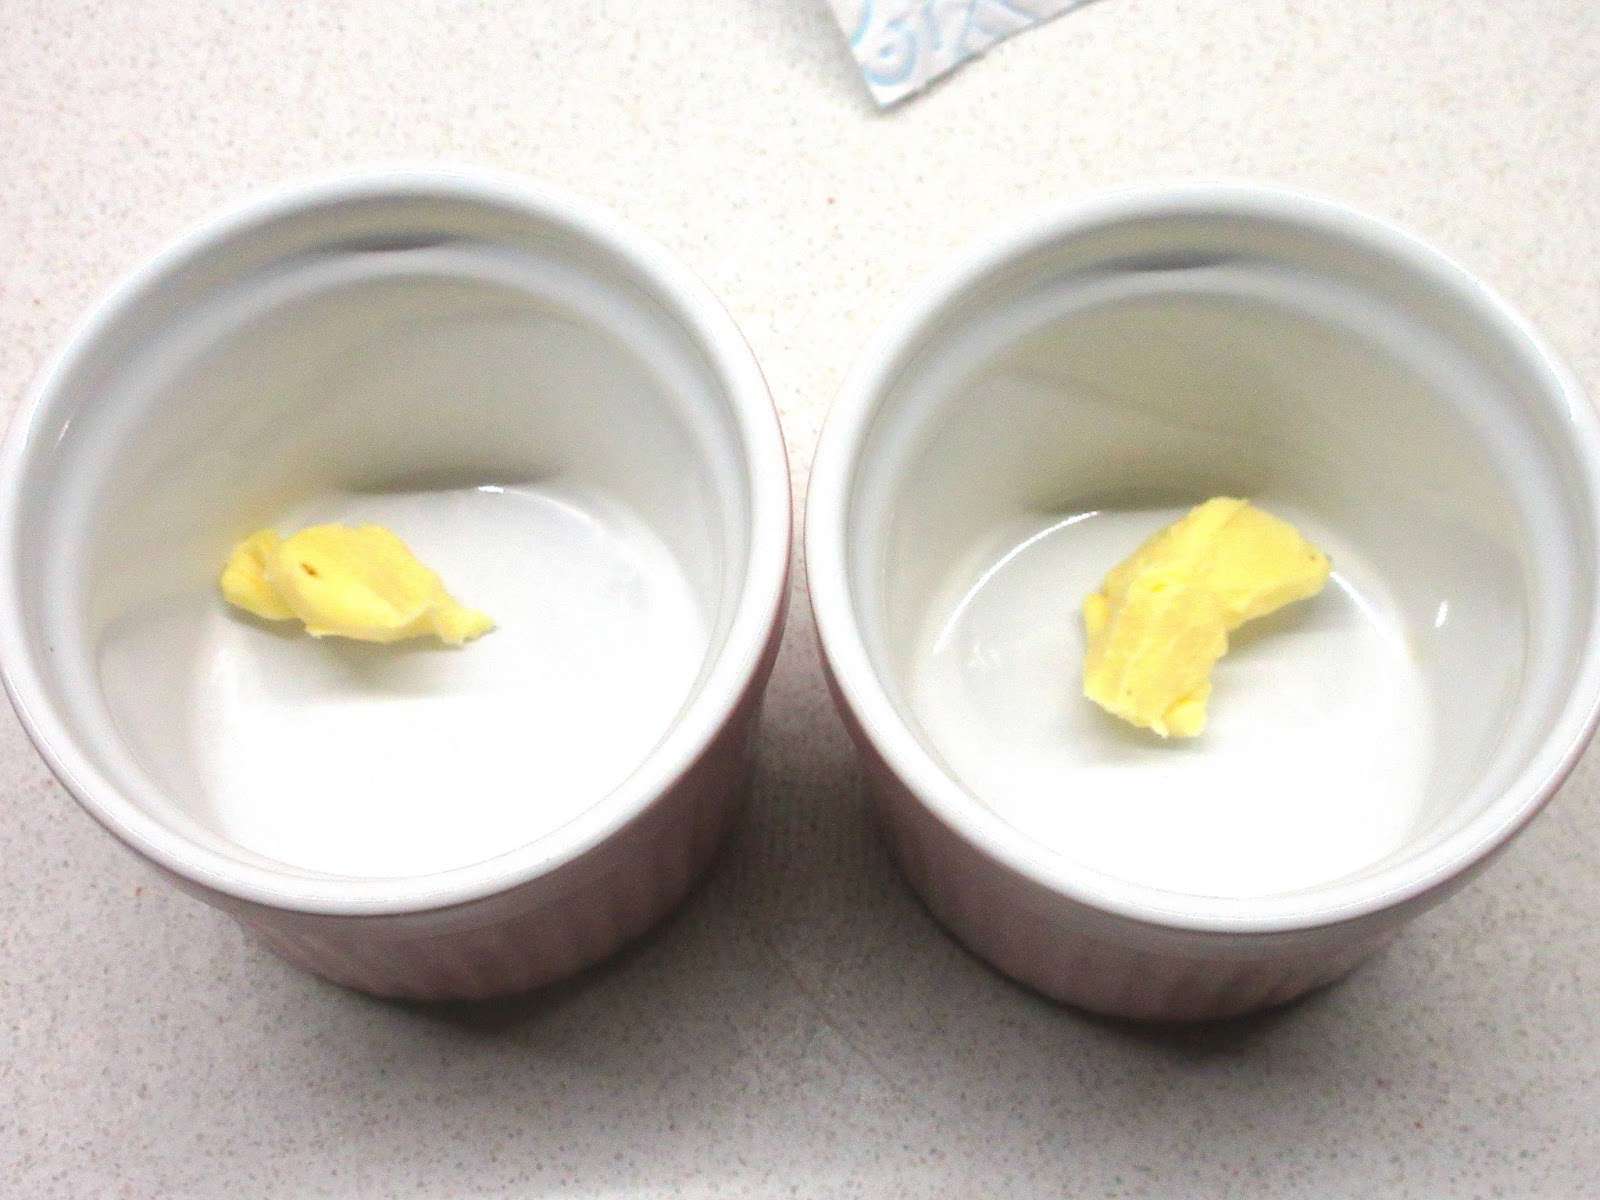
  • A knob of butter
  • 2 bowls
  • An oven pan
  • A whisk
  • 1 Tbsp of cocoa powder
Instructions
  1. Pre-heat the oven to 180 degrees celsius.
  2. Crack two eggs into a bowl, add the icing sugar, salt and vanilla extract. Mix well until the sugar dissolves.
    Adding the sugar to the eggs

    Eggs, sugar and vanilla incorporated
  3. Melt the chocolate and butter together, either in a microwave for 20 seconds or over a pot of boiling water and set aside.
    Melted chcocolate
  4. Transfer the melted chocolate into the egg mixture, and mix well to combine. It should be light and smooth like a ganache.
    Adding the chocolate ingot he egg mixture

    Chocolate incorporated into the egg mixture
  5. Now add the flour into the mixture, and gently mix it into the chocolate mixture.
    About to add the flour

    Added flour

    Flour incorporated
  6. The take your ramekins and grease them with the knob of butter. Then take the cocoa powder and put into the buttered moulds. Run it around until it has coated both ramekins, then set aside.
    About to butter the ramekins

    Buttered ramekin

    A teaspoon of cocoa powder into the ramekin

    Coating the buttered ramekins with cocoa powder

    Cocoa powder coated ramekins
  7. Carefully transfer your mixture into the ramekins, with a spoon  till it is about 2/3rd of the way ensuring that it doesn't spill. For variety you can place a white chocolate bar into the mixture.
    The mixture in the ramekins

    A white chocolate bar added to the mixture
  8. Place the ramekins in an oven pan, and place in the preheated oven for  8-10 mins.
  9. Once they are done, remove from the oven and allow to rest for about 2 minutes.
    Fresh out of the oven
  10. Carefully turn them over on a plate. 
    Carefully turning it over

    Out of the ramekin
  11. Serve with your favourite ice-cream. Break open the cake and see the larva flow....Enjoy! 
Tips
  1. The mixture can be placed in the ramekin and left there until your guest arrives. So you can put it in the oven when you're about ready to serve.
Try it out and #eleanorzkitchen


Friday, 12 February 2016

Tres Leches Vanilla Cake (My birthday cake)

Hi Guys!!

Hope you all had a wonderful week. So, I know I didn't upload a post last week on the blog, and I got a lot of questions about that. I'm so sorry about it. My birthday was last wednesday and I really wanted to celebrate it quietly. I just needed the week to think about and meditate on the events of the previous year, ways to improve myself, to bring more spice to the blog, and just my overall plans for the future. Of course, I also got carried away by some school work and seminars, but it certainly was a much needed solemn reflective period, and thanks for all the concern.

HOWEVER!... I still made something special for myself on that day, and thats what I want to share it with you. 

As it was my special day, I certainly wanted something decadent and to me, theres nothing that spells 'decadent' better than a delicious 'Tres leches' cake. 
If you haven't tried this before.....pllleaase do! TRUUSST MEEE!! this is probably the moistest cake you'll ever have....at least in my book (#wink).  Its spongy, moist, milky, it just melts in your mouth.  I'm telling you, this is cake 'gold' right here. I took it to church  the next day to share with my friends after choir practise. The way the cake disappeared ehh....me sef I was shocked. They really enjoyed it, and were still talking about it on the ride home.

I've always wanted to make it, but for some reason I just couldn't find the perfect occasion for such a treat. I definitely love this cake, and I can't wait to share it with you.


So, a little background about it; 'Tres leches' is spanish for 'Three (3) Milks'. I'm sure you probably already figured that out. So its pretty much a sponge cake soaked in three different types of milk: heavy creamevaporated milk and sweetened condensed milk. Weird huh? 

Now, I kinda cheated a lil bit by using some store bought Victoria sponge cake mix, but thats because I didn't have enough all purpose flour in my pantry, and I was certainly not going grocery shopping on my birthday. 

So heres how I made it.

Ingredients

For the cake batter:
  • Victoria sponge cake mix
  • 2 eggs
  • 1 cup of vegetable oil
For the filling
  • 1/2 cup of sweetened condensed milk (1 can is fine)
  • 1/2 cup of heavy cream  (regular cream is fine too)
  • 1/2 cup of evaporated milk (1 can is fine)
For the topping
  • 1 cup of heavy cream (whipped)
  • 1 cup of mascarpone cheese  (optional)
  • 2-3 tbsp of Caster sugar (granulated sugar is fine)
  • 1/2 cup of roasted desiccated coconut
Instructions
  1. Preheat your oven to 200 degrees celsius. Line your cake tin with parchment paper (greasing it & flouring the bottom and sides is fine too), then set aside.
  2. In a bowl, pour the cake mix and using the manufacturers instructions add all the necessary accompaniments (eggs and vegetable oil). Mix well until its all combined and then transfer it into the lined cake tin.
  3. Bake it for 30-35 minutes, or until a toothpick inserted into the middle of the cake comes out clean.
  4. When the cake is done, remove it from the oven (not from the pan) and allow it to cool slightly for about 5 minutes, but it should still be hot to the touch.
  5. As the cake cools, add your filling ingredients into another bowl, mix well, and set aside.
  6. Heres the fun part. Using a toothpick or fork, poke holes into the cake. The holes should be about an inch apart from each other.
    The poked cake
  7. Now pour the tres leches  (3 milk) mixture over the cake, evenly distributing it. Use a clean plate or kitchen foil and cover it. Place it in the fridge for about 3-4 hours, until all the milk has been absorbed by the sponge cake.
  8. On a baking tray add some desiccated/ flaked coconut and put in the oven for about 10 minutes or until its browned.
    The oven browned desiccated coconut
  9. Make you topping by combining the cheese, sugar and whipped cream together,until it forms stiff peaks.
    The whipped cream mixed with sugar and cheese
  10. Once the cake is ready, smother the topping all over the cake. Then sprinkle the browned desiccated coconut all over the surface. 
    The cake topped with the cream cheese and desiccated coconut
  11. Grab a slice & Enjoy!!